
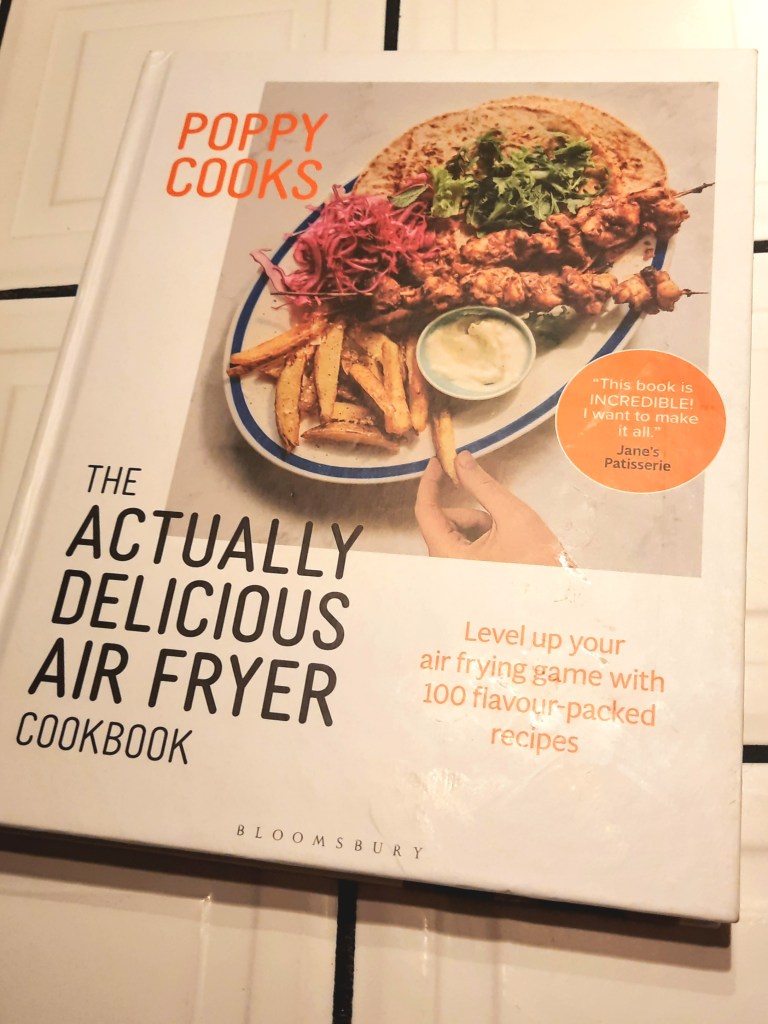
It’s nearly Christmas (for all those who celebrate), which means it’s time to find the perfect gift for all your loved ones. Maybe you want to get an affordable gift, maybe you want to get an expensive gift. Black Friday, around everywhere I looked, there was plenty of opportunity to get a more affordable version of this trendy piece of cooking equipment—an Air-Fryer, seemingly a popular expensive Christmas gift. But if they already have an Air-Fryer or you want to get them a gift alongside it, surely there’s no better idea than an Air-Fryer specific cookbook? How about one that’s been on Amazon UK’s number 1 book spot periodically since it’s release?
Okay, was that a good segue into this review or was it just a sales pitch for Poppy’s book? Who knows. All jokes aside, one thing that I got a good giggle about when first reading through this book is that Poppy says she started writing this book because she saw there was a gap in the market. There were no Air-Fryer books at all when she first started writing it. However by the time her book was released there were plenty, leading to now where you can find one almost everywhere you go. It seems everyone found that gap and jumped onto the trend around the same time. So, since there’s no gap in that market any more, why did Poppy’s book reach the success of Number 1 on Amazon?
Firstly, the most obvious reason: Internet Success and Celebrity Status. Poppy may be very personable and very open about how ‘just like us and human’ she is (which I applaud, I love to watch her videos for this reason), but she is still a celebrity and a celebrity will always sell more than a newcomer or lesser known writer. Poppy’s name and brand, ‘Poppy Cooks’, on Instagram/TikTok and her stint on reality TV shows means that people feel some comfort with her name, they know what to expect and they expect any book she creates to be of a good quality. In short, they trust her and so they’ll buy from her. Is this a bad thing? Of course not. She’s earned it. She’s worked hard to gather an audience and to associate her name with quality and tasty cooking.
But is her book any better quality than other Air-Fryer books? I own one other Air-Fryer book (yet to be tested) which I got for a cheaper price at a Garden Centre in England that features more recipes. I’ve seen plenty of Air-Fryer books in French in my local stores and I would say on a brief glance that they seem to be of a similar quality to Poppy’s. The book from the Garden Centre is a lot smaller in size with a lesser quality paper but features more recipes. Personally (although I haven’t tested the other Air Fryer books) I would guess that the selling power of Poppy’s book is to do with her trusted celebrity status. Again, I don’t see this as a problem. She’s earned it through a lot of hard work.
Poppy, very similarly to her original first cooking book (you can find a review for this in my Cookbook Reviews section above), uses her personality to her advantage. Everything is written in a friendly, colloquial manner which makes you feel a connection with her as the author and helps to create that ‘friends cooking together in a kitchen’ vibe that both her last cookbook and her online videos create. Each recipe comes with an introduction to the dish, whether it be where the initial idea came from, how it relates to her/her family, how she feels about the specific dish. Personally I love reading these little insights into the chef’s mind and love when a cookbook features them.
Poppy (and I assume her team of helpers) also have a firm grasp on who their audience is. Knowing that she has a high percentage of North American followers who’ll be buying the book they provided a guide at the back for all ‘British English’ words that need to be translated into ‘American English’ words, e.g. Aubergine to Eggplant, Coriander to Cilantro. As somebody who lives in France and reads many recipes online, I understand well enough the frustration at having to figure out what you can use in place of an ingredient or even what that ingredient would be called in my local supermarket so I’m sure this section is really appreciated by the North American fans.
The actual material that the Air-Fryer cookbook is made of is of a far better quality than her first book. The cover is made of thick cardboard and can be wiped clean. The pages are a thick, shiny paper that are far less likely to be destroyed by frequent use. The layout and look of this book is definitely one of the selling points above other cheaper Air-Fryer books I’ve seen. The cover also features ‘POPPY COOKS’ in big letters which helps it be spotted by Poppy fans in bookshops and the giant ‘Actually Delicious Air Fryer Cookbook’ helps it be spotted by all Air-Fryer fans (especially ones who may have struggled with their Air-Fryers so far). She also has a review from another internet-famous-baker (and book Best-Seller) Jane’s Patisserie which helps to put an even firmer stamp on the book’s quality—if another trusted, internet baker loves it then surely it has to be trustworthy. I would say the design of this cover, whilst basic, is a masterclass on how to create a cookbook cover that will sell. Every important bit of information is dominant with neither one outdoing the other.
The chapters are broken up into: Meat, Fish, Spuds & Sides and Sweet Treats. It’s very simple, very to the point and is very helpful for finding exactly what you want. The Meat section pairs all the meat types together, e.g. all chicken recipes together, all beef dishes together etc. which I found especially helpful for deciding which ones I wanted to try. The one thing I would change would be to separate the Spuds and the Sides into two categories as this was a lot less of a methodical, categorical section (in other words, it was a bit random). I would even potentially add a ‘Lunch’ or ‘Light Bites’ section and move the Blinis, Garlic Bread etc. into that as something like Blinis isn’t really a side and is more a canape or light lunch. The only other order problem, that made little sense to us, was that the elevated Brownie (Slutty Brownie—but essentially a Brookie) is featured before the Brownie and Cookie recipes. I would move the Brookie until after the two basic recipes so that it follows some sort of pattern (basic to more advanced).
One of my favourite parts of the book, which I’ll mention quite a bit in my full recipe breakdown below, is the Suggestions below every recipe. These suggestions include what to eat it with, how to eat it, how to turn it into a full meal etc. Sometimes there’s one suggestion, sometimes there’s many and I think this was the true highlight of the book and the reason I would buy it for people I loved. It starts with the basic recipe and then through the suggestions suggests how to improve it or enhance it. A brilliant idea—whoever thought of it, Poppy or somebody she knows, should be applauded. In fact, just imagine me right now, stood up, applauding and cheering. Okay? Now, you can carry on reading.
All of that out of the way, do the recipes actually live up to the hype the cover and celebrity name create? You know what time it is. It’s time to go through each recipe I tested one by one:
MEAT
- Lemon Chicken—This is the first recipe that starts a recurring pattern in this book. This recipe is so tasty but would’ve been so much tastier to cook in a pan. The lemon sauce is sharp and salty. I could drink it by the bucketful, it was so good, but the actual chicken turned out both burned and slightly chewy. The issue was that the timings were completely off in the Air-Fryer. By the time I’d opened it to turn the chicken over for the second cook it had already started to turn black (despite not being fully cooked). She wanted me to cook it for 45 minutes in total when I really do believe it was fully done at 30 minutes. And honestly, since I was doing the sauce on the hob already I would rather have flattened my chicken slightly and shallow-fried it in a frying pan instead. A tasty dish? Definitely… but not one I’d do in the Air-Fryer again.


The chicken stuck badly to the bottom
of the Air-Fryer.

The Chicken cooked in the oven was substantially better than the ones cooked in the Air-Fryer. I would still probably flatten it, bread it and shallow fry it next time.
2. Pork Chops—Did I mention I love the suggestions? This recipe had a couple suggestions for marinades so we had to try it. We made our Pork Chops in an Orange and Mustard marinade and I can honestly say that it made the Chop even better than it already was. The marinade was the highlight of this recipe, however unfortunately it was another time where the timings were way off—this time too short, instead of too long. By the time it had had it’s full cook in Poppy’s recipe it was still raw—but looked deceptively cooked on top. It was only when you turned it over you saw how raw it truly was. Which leads me to my other suggestion: turn the chop over half way through. It’s the only way we could find to make it lovely and brown on both sides. The overall time difference between the 5-8 minutes she said to cook it for and the time it took to actual cook was around 15-18minutes extra which is a considerable amount of time for a published recipe (and our chops were thinner than a regular sized pork chop). We would eat this recipe again, maybe even from the Air-Fryer, but we would make sure to note down the differences in timings and to turn it over half-way through. As it is, the recipe just didn’t quite get it right.
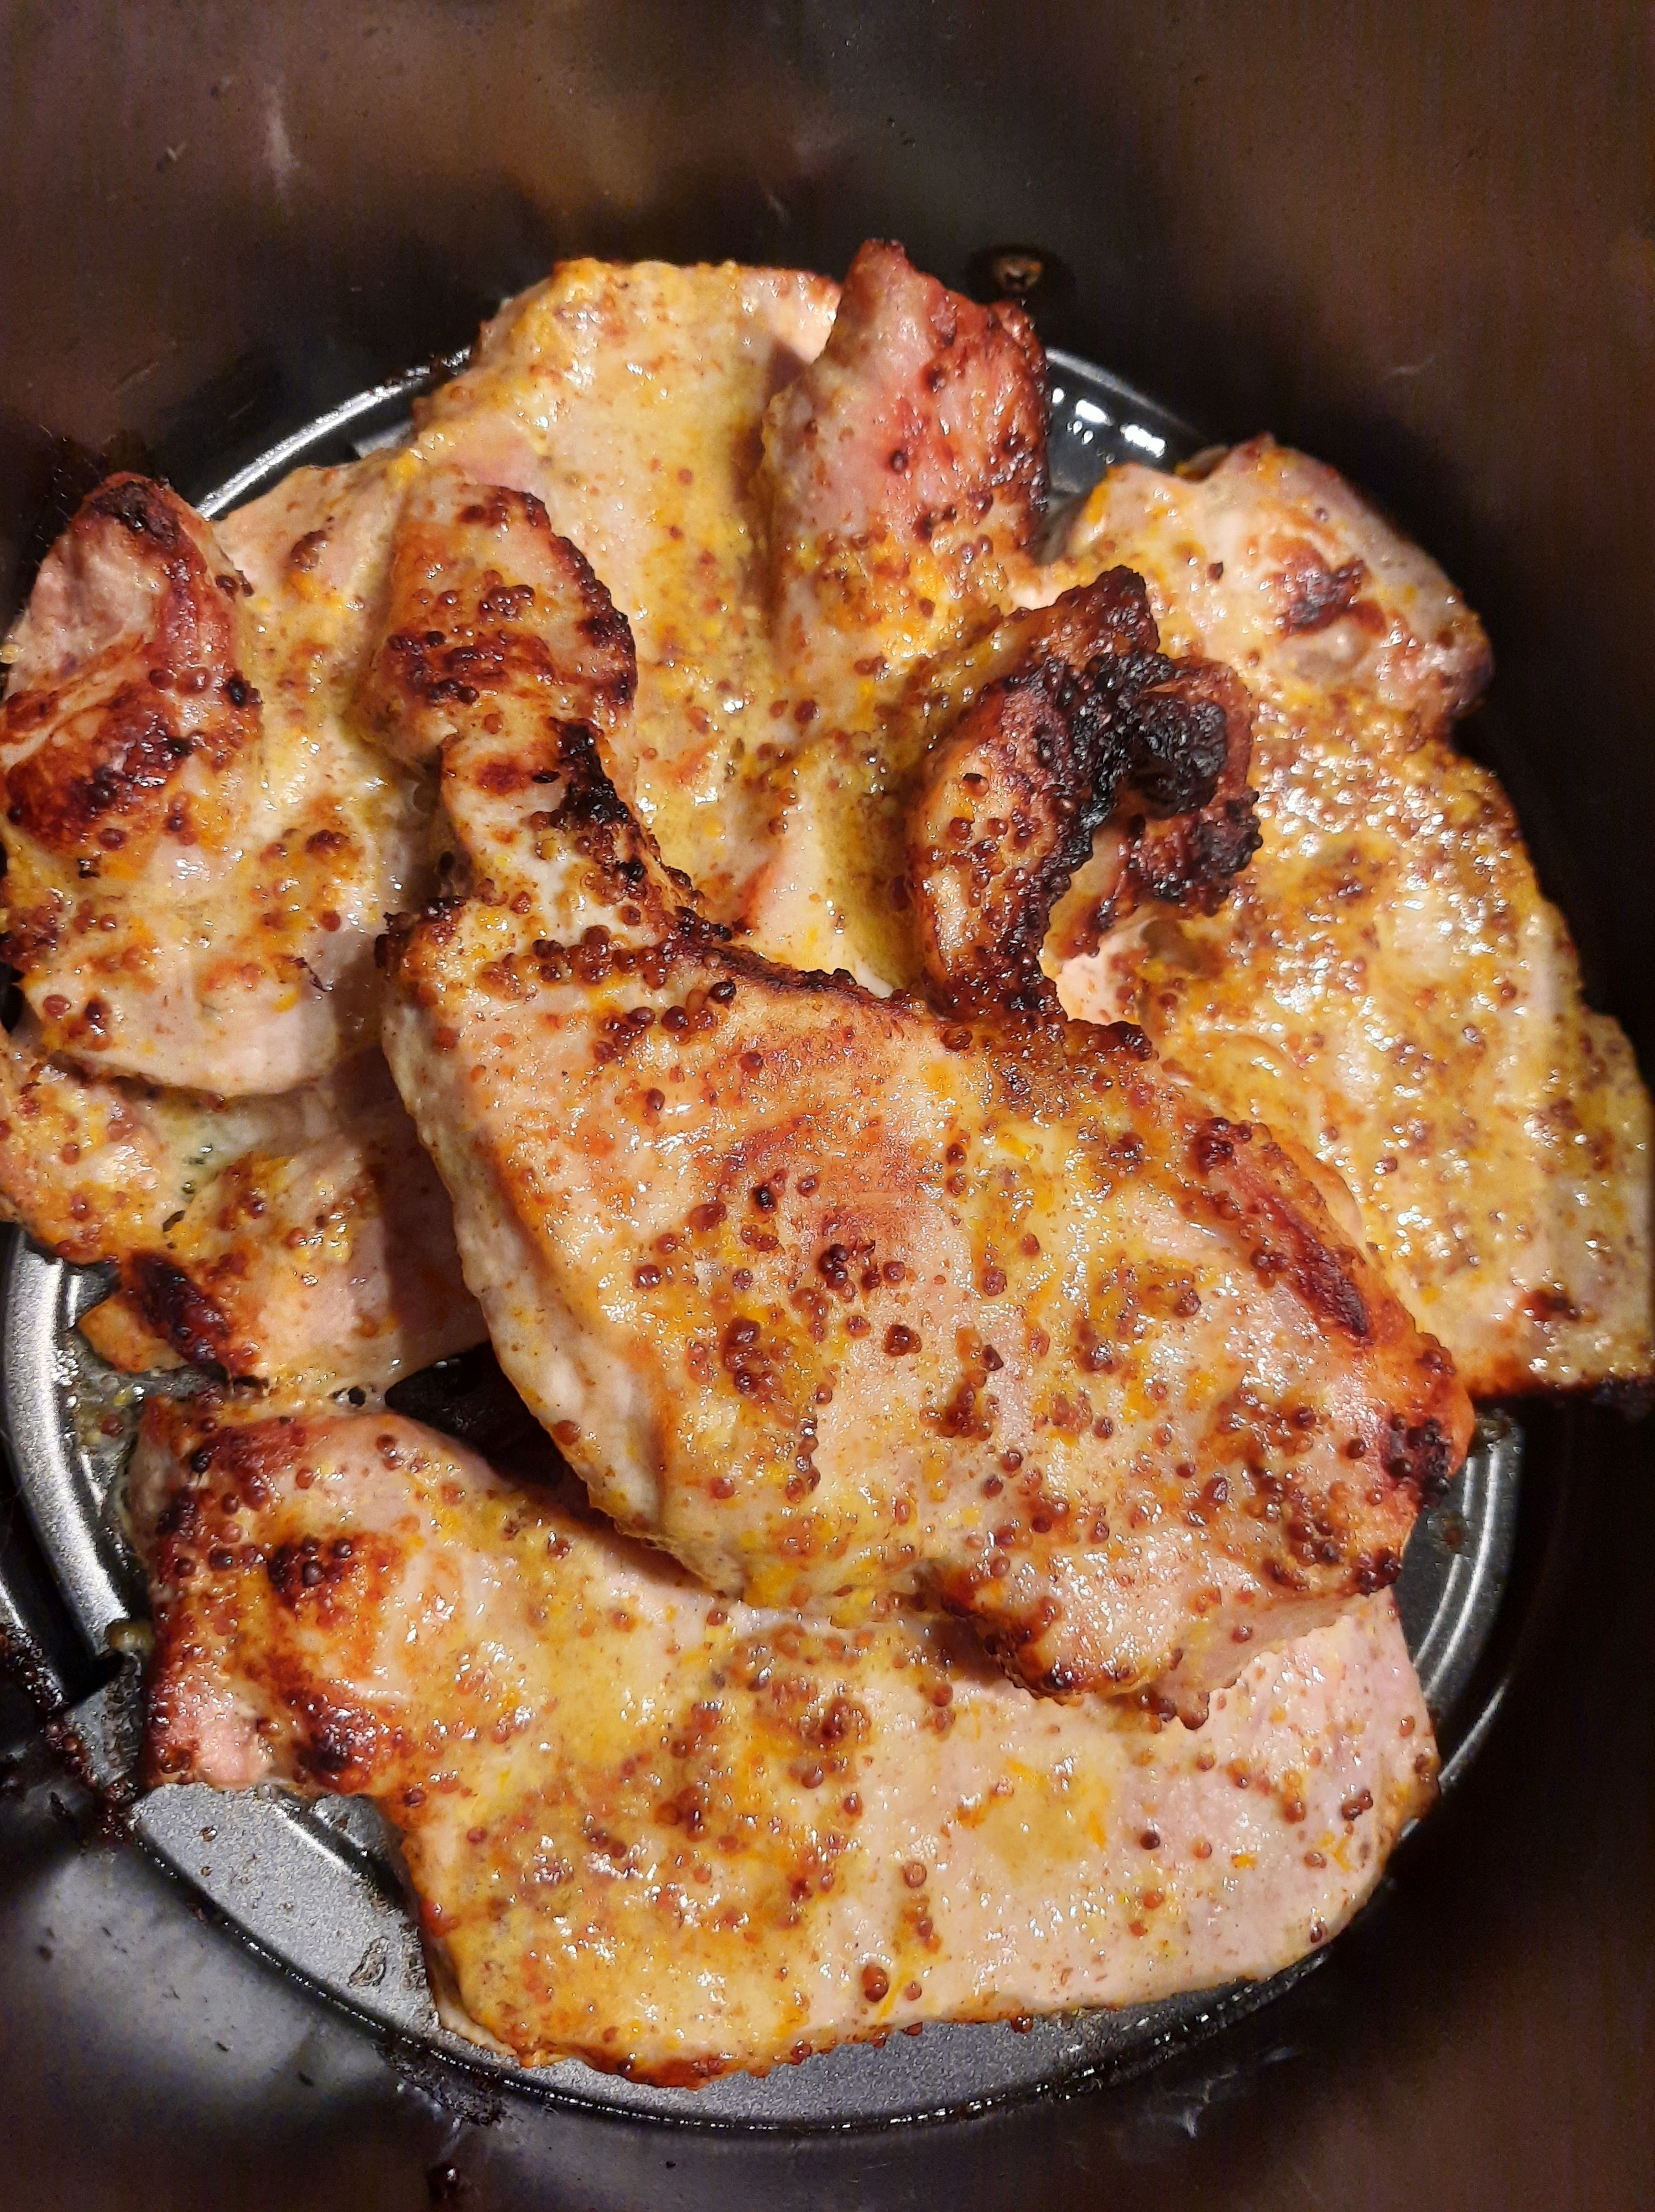
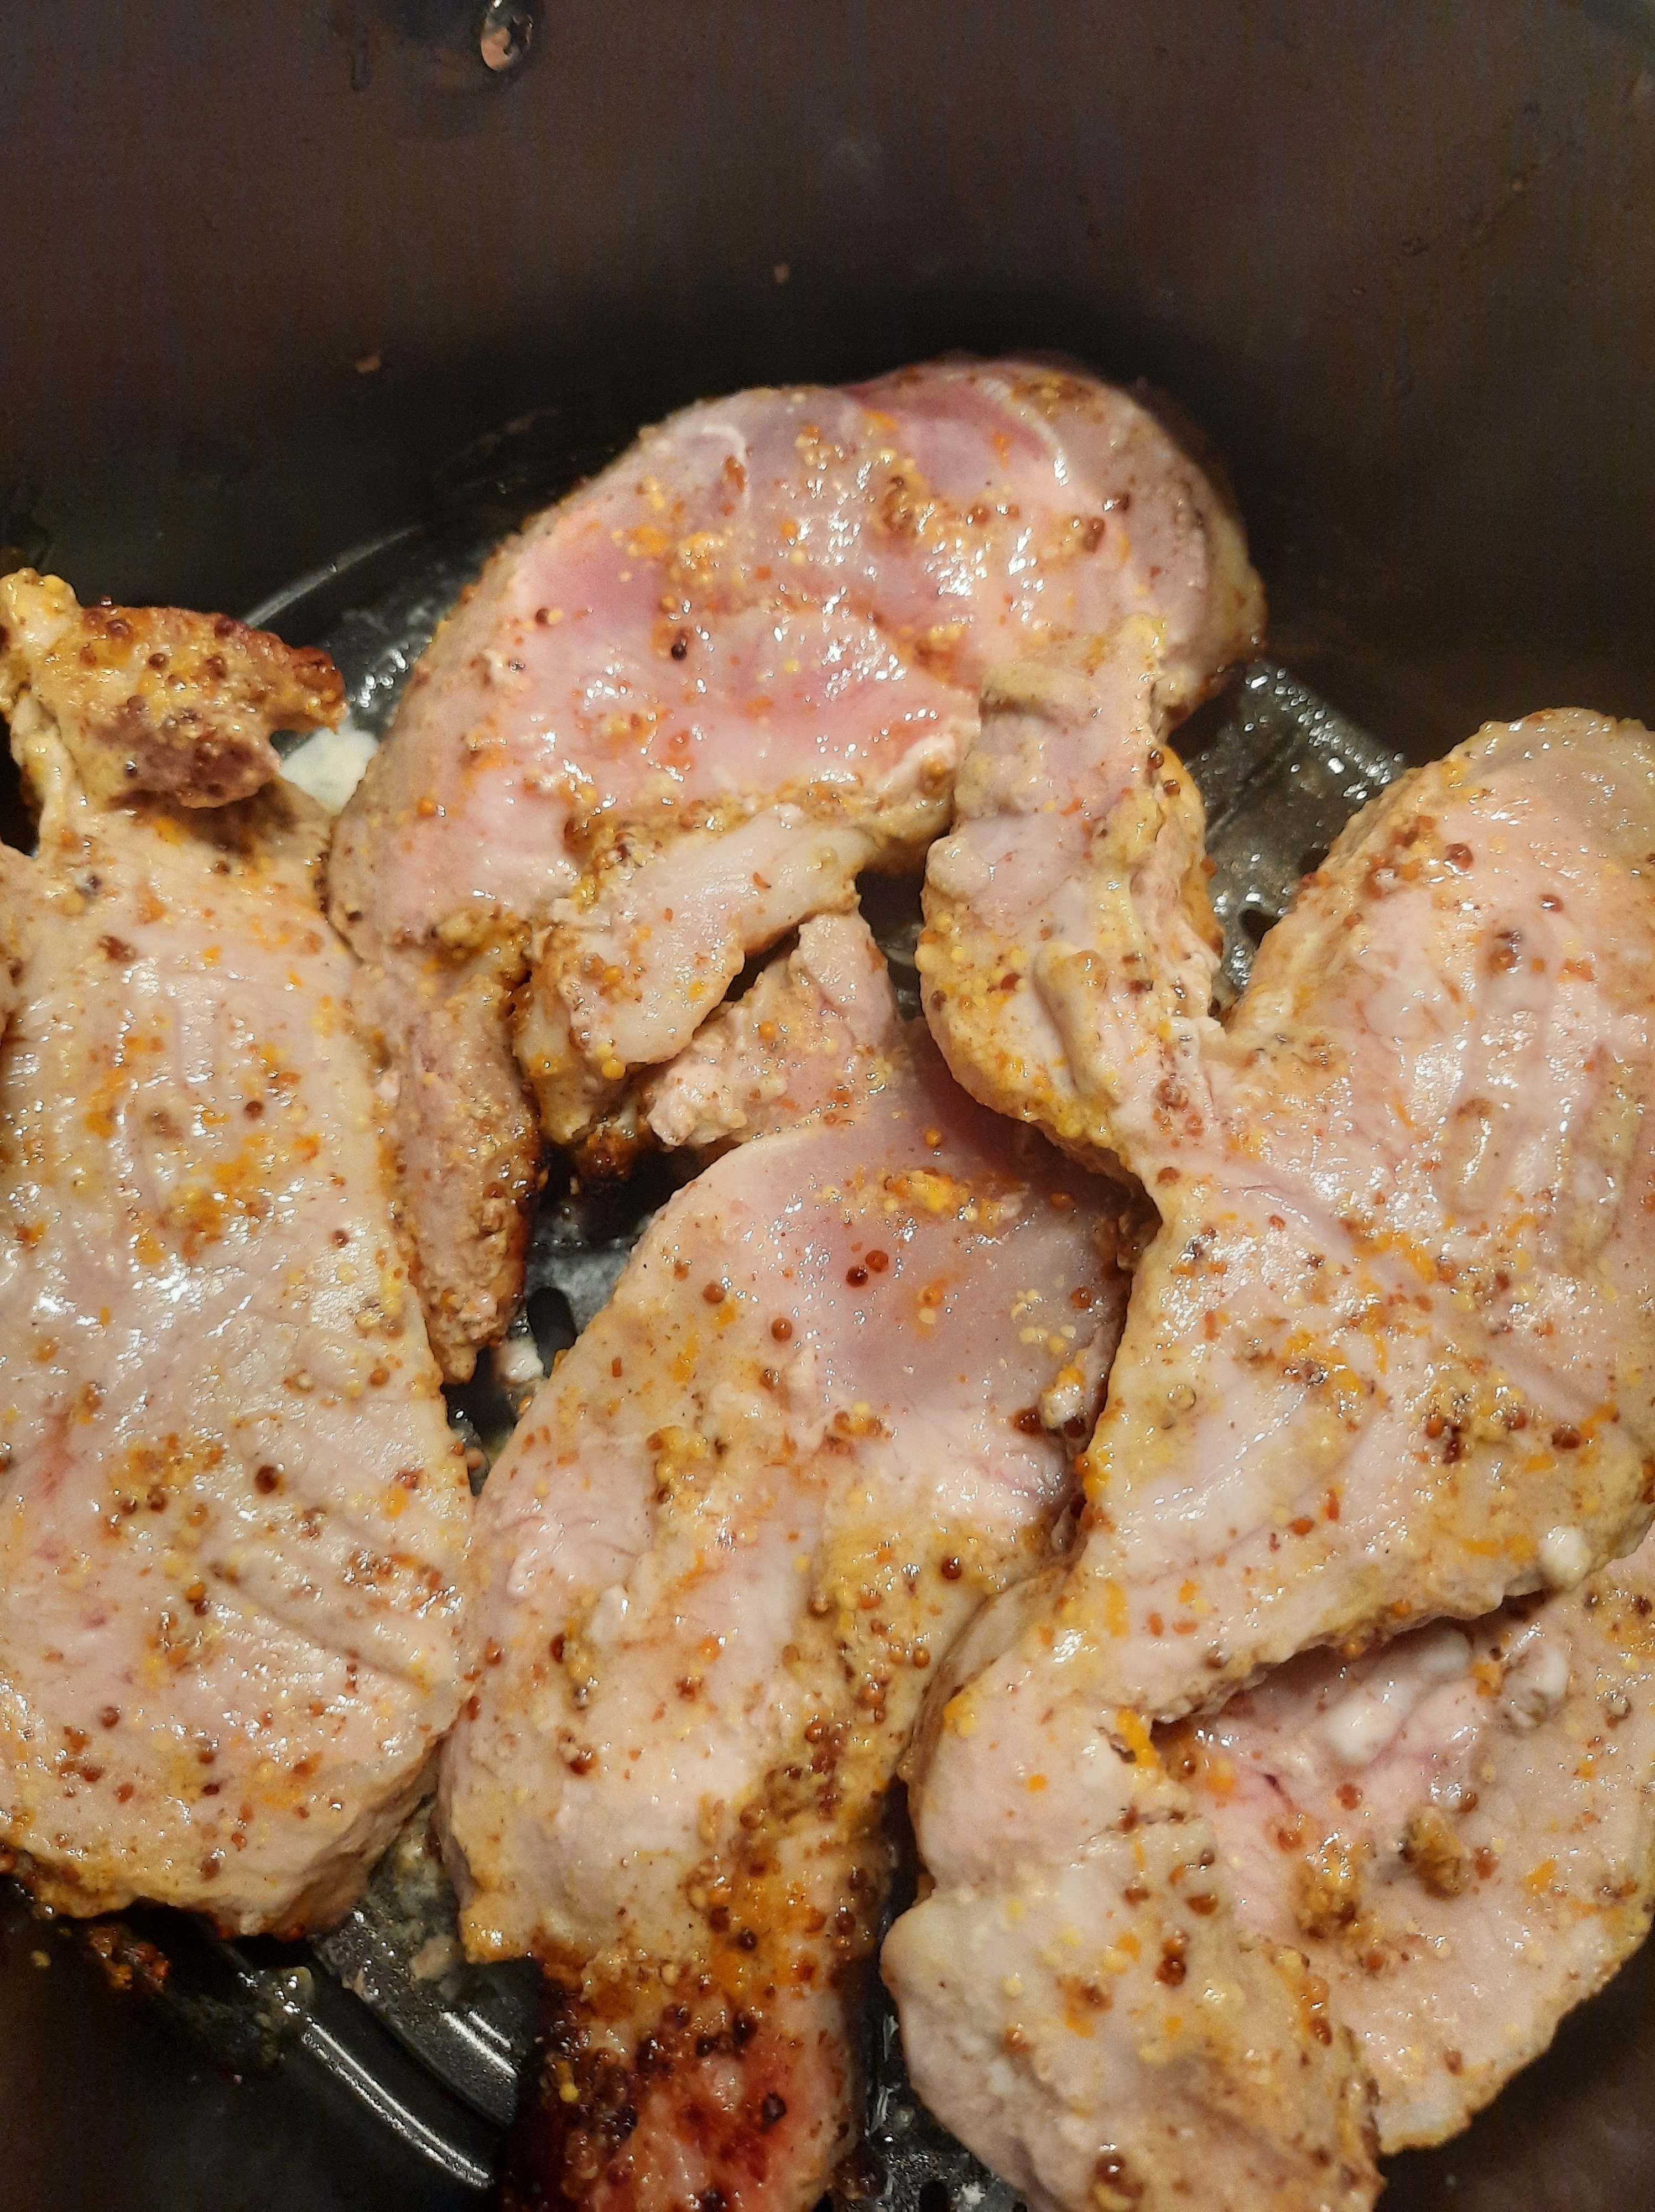
Before turning over it looked cooked (Left). After turning over it wasn’t close to cooked (Right).
3. Pork Belly—If I could describe this dish in four words it would be ‘heaven on a plate’—or I suppose in an Air-Fryer basket. This was our favourite recipe and the odd thing is this is the one recipe we were sure wouldn’t work (just based on the timings being off on the recipes above), but the timings were completely right. We ended up with a perfectly soft pork that we could pull apart with two forks and a crispy, salty crackling to enjoy with it. The flavourings that were added were some of our favourites and you could taste each one of them. Salting the skin and leaving it to air-dry the night before in the fridge, a very chef-y technique, was great advice and definitely seemed to add to the flavour. It took a lot less time than if we were to do it in the oven and we added it to a bun with homemade apple sauce (as suggested below the recipe, we couldn’t get stuffing unfortunately) and it was one of the best meals we’ve had out of any of the recently tested cookbooks.


4. Toad in the Hole—Okay, where to start? It really does feel like we’ve gone from the best recipe to one-of-the, if-not-the-worst, recipes included. Poppy mentions in the intro to this recipe that she’s never been able to make Yorkshire Puddings and so borrowed a recipe from her Mum—and I don’t want to insult her Mum so I’m trying to skirt round this as much as possible—but it just… wasn’t good? Of course I know I’m coming at this from a unique angle. I’m from Yorkshire. I have a family recipe for Yorkshire Puddings taught to me from my Lincolnshire Grandma who learned it from my Yorkshire Grandad. Yorkshire Puddings are a very personal thing to me and something I like to think I’ve mastered over the years (and I’ve tested many other recipes for them as well as having my own). The recipe in this book—the batter is just too thick. Even my Dad, who doesn’t cook but does make Yorkshire Puddings, knew it was wrong. The Air-Fryer version turned out dense and sweet—almost more like a floury flan than a light and airy Yorkshire pudding. The sausages were okay but nothing special and could’ve been more evenly browned in a pan or in the oven. To test it fairly we also tested the recipe in the oven to see if the Yorkshire Pudding would turn out any better but, although it was slightly less dense, it was still not a good Yorkshire pudding. When I’ve described the flavour of this type of thing before I can only describe it as ‘bad Yorkshire pudding’ because—yeah, it’s a bad Yorkshire Pudding. For another test I tested my own batter recipe, and my Dad’s batter recipe, in the Air-Fryer verses the Oven and honestly, the oven did it better both times. It seems Yorkshire Puddings are best out of an Air-Fryer, unfortunately.


Oven Toad in the Hole on the Left, Air-Fryer on the Right.
FISH
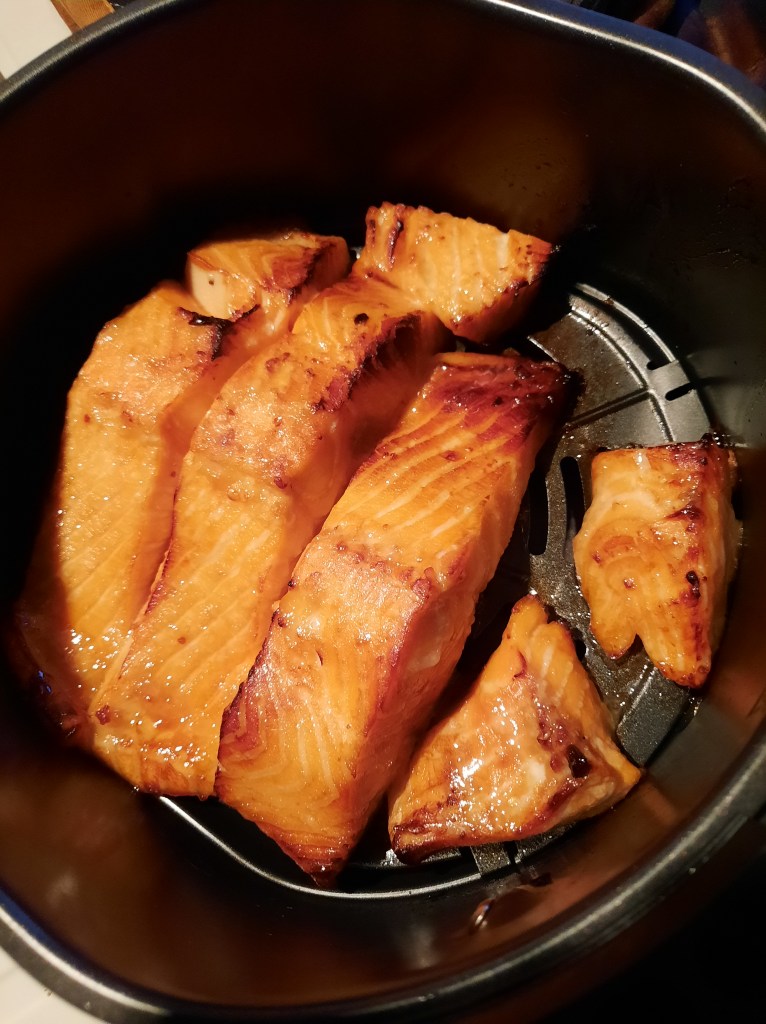
- Honey Soy Salmon—Fish is something we discovered through testing this book works extremely well in an Air-Fryer. This recipe was our first foray into trying it and it went perfectly to be honest. The timings were spot on if you wanted your salmon slightly pink (we didn’t and cooked it a tiny bit longer but appreciate this is how restaurants cook it). The honey and soy added great flavour and helped the Air-Fryer to create a lovely roasted, caramelised flavour on top of the salmon. The actual fish was perfectly soft and juicy. We actually ended up doing this recipe again with my own Korean-inspired marinade instead for a weird fusion Salmon Burrito. 100 percent I would do this recipe again and recommend it to other people.
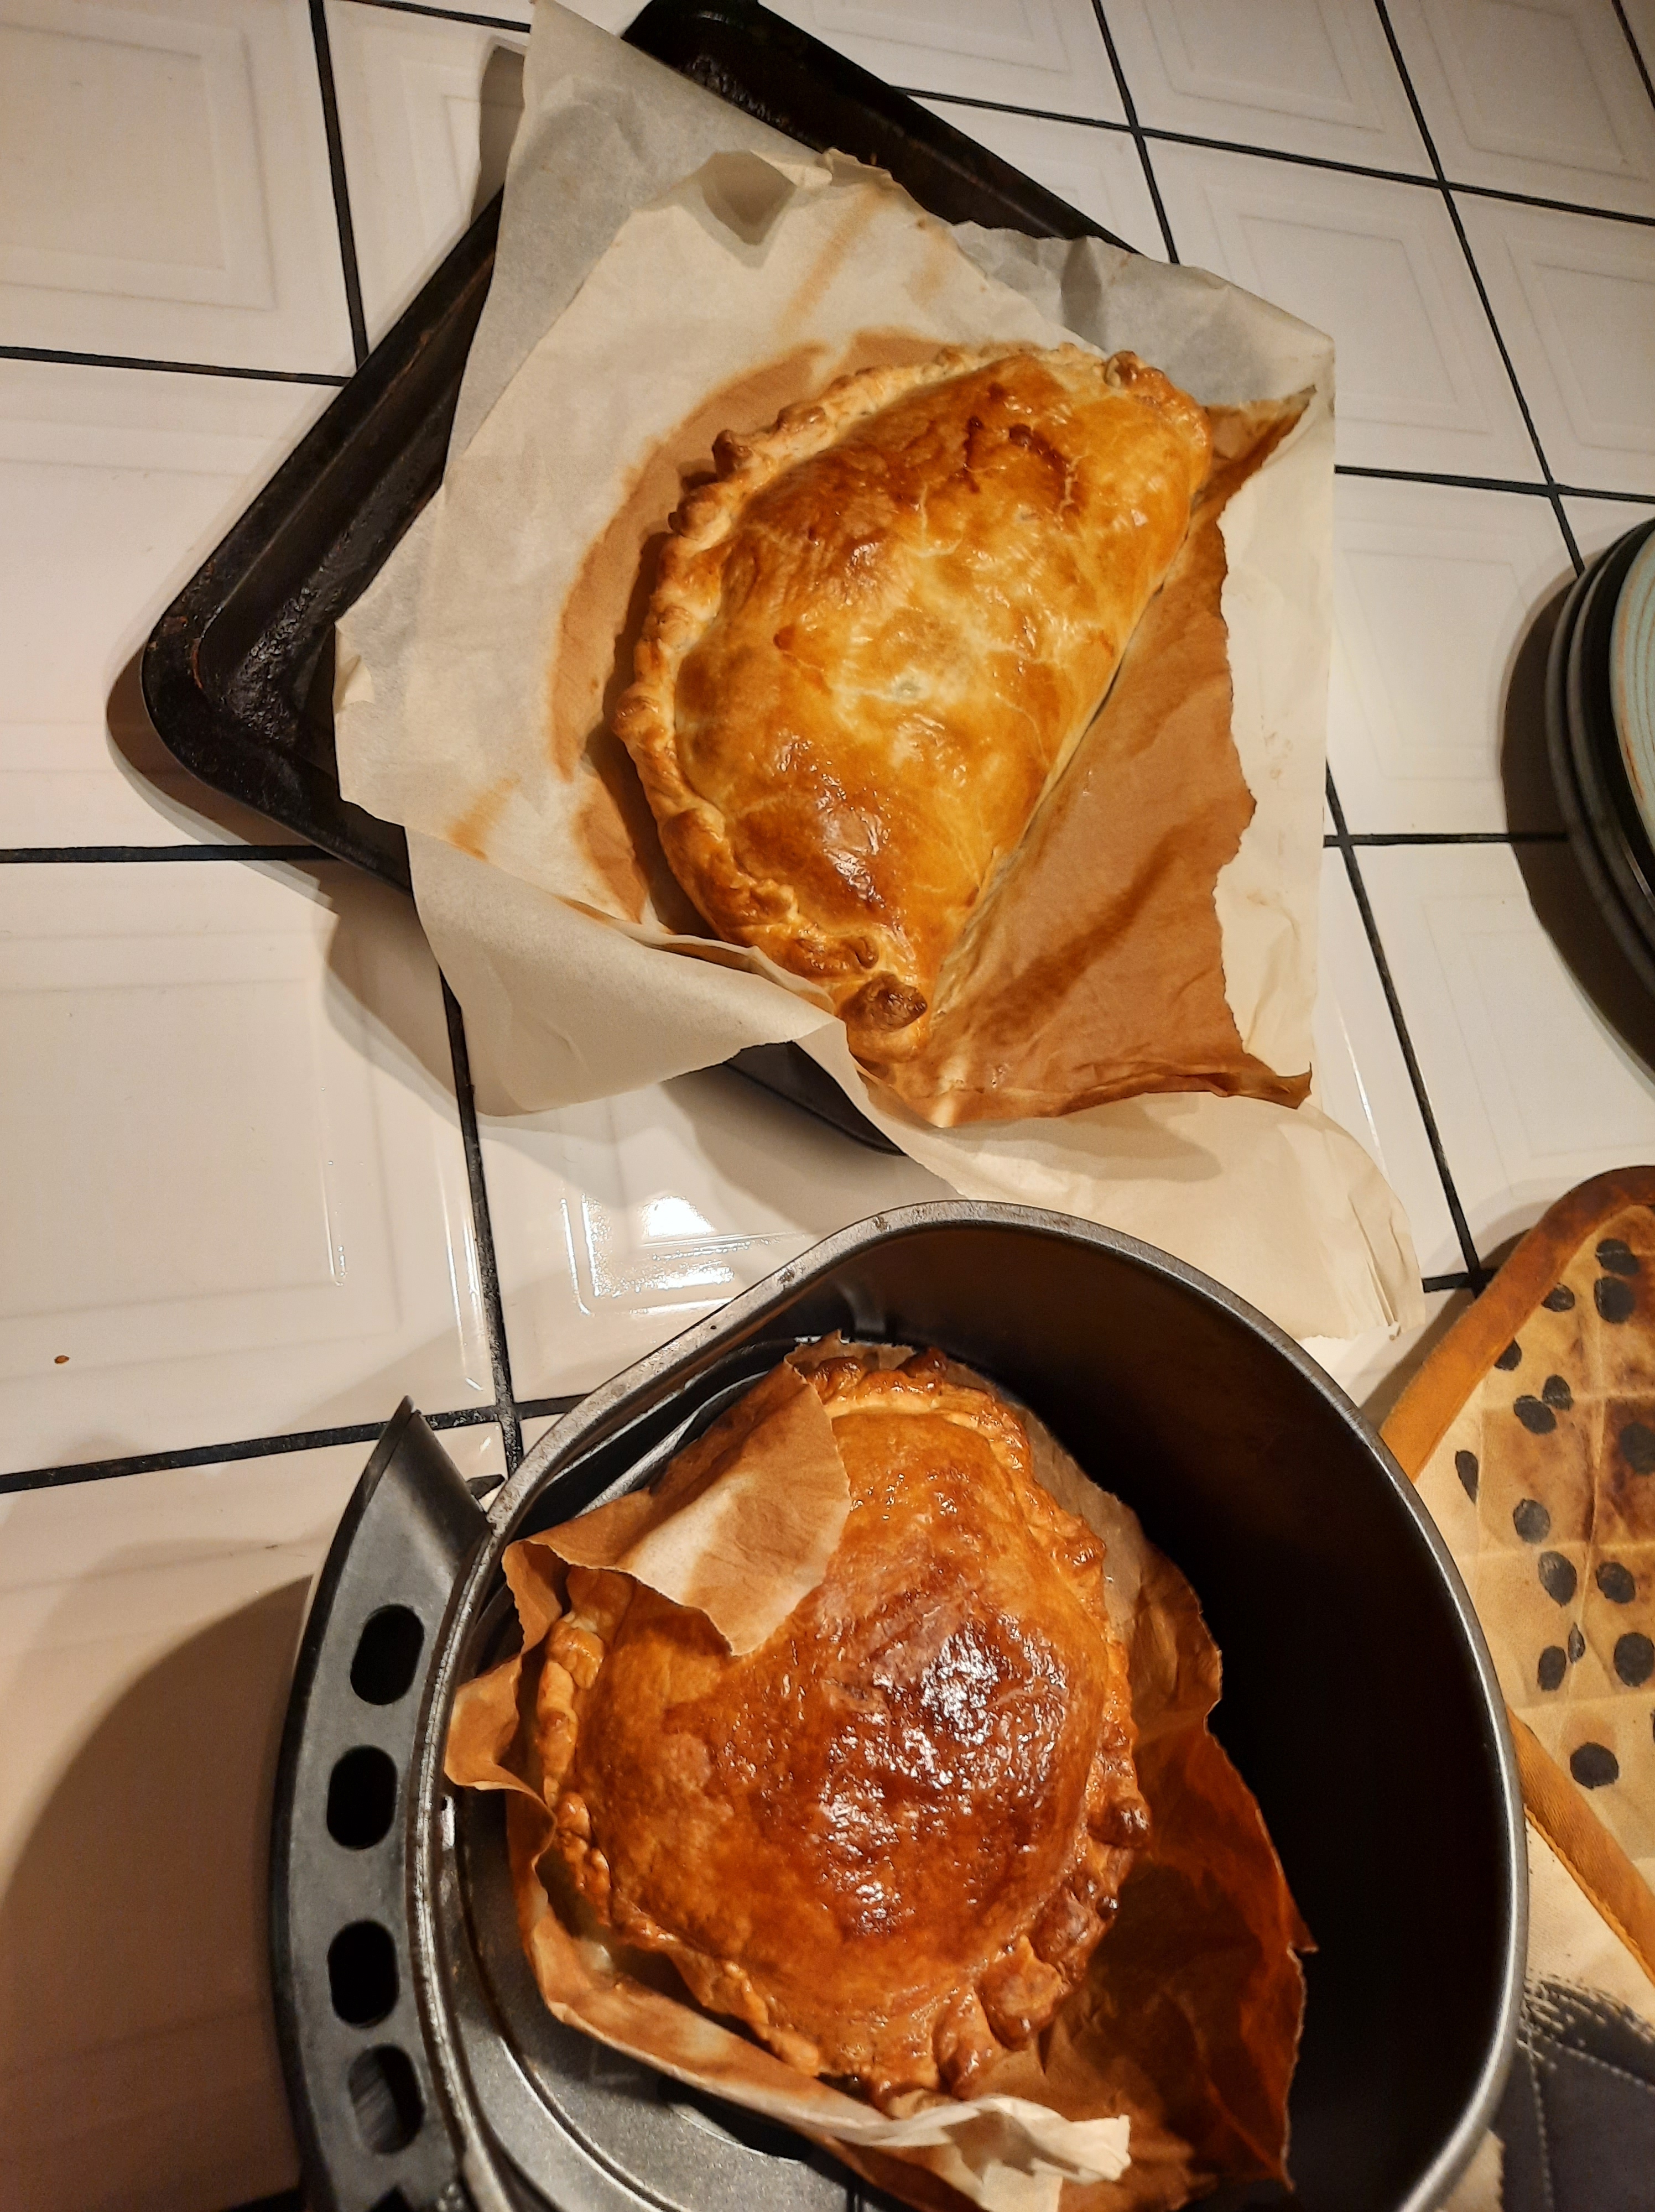
2. Salmon En Croute—Now, I only have a small Air-Fryer so even though the recipe didn’t suggest it I had to cut my pastry to the size that would fit my Air-Fryer. I also had to trim my salmon fillets to fit said pastry so I did end up doing this recipe in the oven as well (the oven one was roughly two-thirds more in size than the Air-Fryer one). Both versions of the Croute had slightly soggy bottoms but not enough that it was off-putting or distracting when eating it. The fillings were very tasty with a slight zing and creaminess that really complimented the fish. The timings to cook it where absolutely perfect and created a golden-brown pastry crust around the parcel. I probably wouldn’t do this in the Air-Fryer again unless I was just cooking for one person but if you have a larger Air-Fryer I do think this is a tasty and worth-it recipe.

I also made the pickled cucumber side that was recommended in the suggestion which was slightly sweet but an okay side to accompany the En Croute.
3. Smoked Haddock En Papillote—I knew I had to test this recipe as I’d previously had some bad experience with using baking paper in the Air-Fryer (I’ll come back to this later). My biggest surprise is that it worked and didn’t unfold or catch on the powerful Air-Fryer fan. I thought the flavours in this were superb and were just missing a touch of acidity from lemon juice (or from the optional white wine we really should’ve added). The fish, like both other fish dishes we’ve made in the Air-Fryer was perfectly soft and flaky. I would definitely do this recipe again for a quick and tasty dinner.

SPUDS AND SIDES:
- Baked Potatoes—Poppy uses my family’s usual method for making a jacket potato: cook it part way in the microwave before moving it to an oven (or in this case, Air-Fryer). This method works. There’s not much I can say about it. The Air-Fryer doesn’t make it taste any different, as far as we could tell, than the oven but does save on pre-heating time on the oven (it takes around the same length of time in the Air-Fryer for actual cooking time as the oven). However, unless you have a big Air-Fryer you won’t be able to make big quantities so really make sure you have the right size capacity for your needs.
2. Chips—It seems like the given thing, doesn’t it, to do chips in an Air-Fryer? And as Poppy is the internet-titled ‘Potato Queen’ it was almost a necessity to test this recipe. Firstly, the quantity of potatoes you should use really depends on the size of your Air-Fryer. It’s not a set amount. The bit of advice I would give, that Poppy doesn’t, is that the potatoes really need to sit in one level in the Air-Fryer. If not they’ll cook inconsistently, take a lot longer and won’t be as good as they can be. With the quantity Poppy suggested the chips took a lot longer than the recipe said and needed to be turned over a lot more frequently. We made Poppy’s poutine suggestion at the base of the recipe and they were fine—nothing special but will definitely have its fans. The chips themselves were decent enough but not nearly as good as an actual fried potato. The main problem with them (as in the Wedges below) is that they were a little dry and dried out your mouth without any sauce/gravy to drizzle over or dip them in.
3. Roast Potatoes—Again, the size of your Air-Fryer will restrict the quantity you can make so be aware that it needs to be on one level with gaps in between (this time Poppy will also advise this). The flavour of these potatoes was… okay. They’re a good substitute if you don’t want to use your oven but the ones done in the oven do taste far superior (and, weirdly, take less time—at least our usual recipe does). All you’re really saving, time-wise, is preheating time and not having to use a pan to boil them first but you do end up with a mediocre, almost frozen-bag-tasting, roast potato. Personally I would rather just save the roast potatoes for when I’m doing multiple things in the oven, rather than have a less superior version from the Air-Fryer.

4. Crispy Potatoes—We again tried the suggestion with this recipe and roasted garlic in tin-foil with the potatoes. The garlic was not cooking at the same rate as the potatoes and I ended up taking it out of the foil as it cooked quicker outside of it. However, the potatoes also didn’t cook at the same speed/time they were supposed to and took substantially longer before they were done. They were also highly inconsistent in texture even though they were put in the Air-Fryer basket in one layer. After cooking it following the recipe we ended up, not only cooking it for longer, but also consistently opening it to move them around so they would cook more evenly. The actual end Garlic, Honey and Mustard potatoes were okay but needed a touch of sour to counteract the sweet honey as they were overall too sweet. The versions of these we make in a frying pan are frankly easier and turn out better so I wouldn’t do this version again.

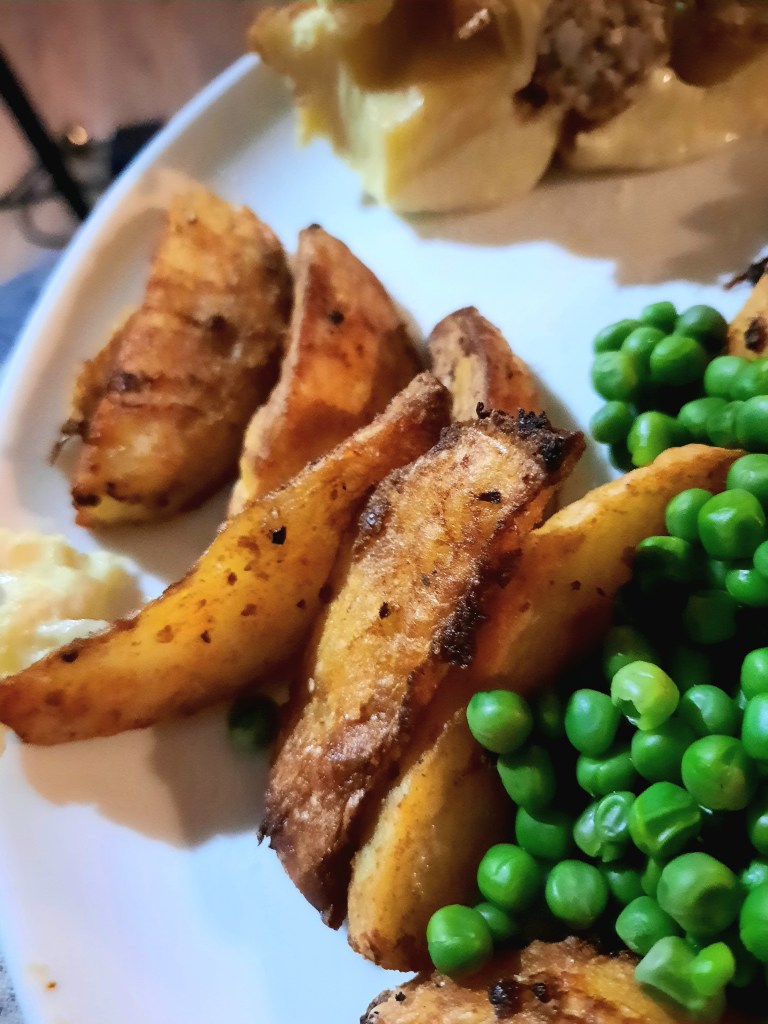
5. Wedges—We’ve cooked two versions of these: both the regular, basic wedge and the suggested spiced version below it. Going forward I would always choose to make the spiced version as the basic wedge is very bland and dry. The spiced version is also too dry but it at least has a lot more flavour. In order to make them less dry I would add more oil than it says in the recipe but I would still rather cook them in the oven as (unlike the chips) I really think wedges in the oven turn out better, crisper and fluffier. As well as more oil, I would also add more salt than in the recipe. The wedges, despite being in one layer also took longer to cook than initially stated in the recipe but not nearly as much of a discrepancy as some of the other recipes. This could merely be down to the Air-Fryer you have as the difference was only about 2-5 minutes difference. I would and have made these wedges again but I’ve tweaked the recipe to improve it (and I would only do it if I wasn’t doing anything else in the oven).
6. Sweet Potato Cubes—One of the stars again and one we agreed we would definitely make again and again. The problem with Sweet Potatoes in the oven is that they tend to not get crispy because the heat isn’t intense enough and when I fry them I often coat them in a cornflour mix to get them crispy but the Air-Fryer version has that intense heat but without too much liquid to make it soggy. The Sweet Potato Cubes were crispy and soft in the inside and when paired with the suggested Quick Pickled Onions (a very easy, very tasty addition), coriander and feta it’s delicious. It should have also been paired with toasted chickpeas which, if we’d had in, would’ve also been a tasty addition. 10 out of 10, would make again.


7. Sprouts—Okay, okay, confession time. We didn’t make the actual dish from the recipe book. We couldn’t find chestnuts anywhere in our supermarket (surprisingly there hasn’t been as many this year as previous years). So instead of testing the full recipe we tested the timings on cooking the sprout part of the dish. Unfortunately the timings were way out, took a lot longer than it said and were extremely inconsistent. Some of the sprouts were burnt, some uncooked and that was after constant stirring. It also takes a lot longer and isn’t as tasty as frying them in a pan. Going forward I would continue to do my sprouts in a pan where I can have full control of their cooking.
8. Honey Roast Carrots—We were extremely excited to try this. We love Vichy carrots (oven-braised carrots) and I love to finish my cooked carrots in a honey or mustard butter. I even made my own Hasselback Mustard and Honey Roasted Carrot recipe last year (recipe can be found in the Recipe section above). However, the recipe in this book didn’t work. The cooking of them was very inconsistent and they needed a lot longer. They ended up burnt at the bottom and still hard at the top and had little to no lovely caramelisation flavour you get from roasting them in an oven. All of the honey/butter fell to the bottom, away from the carrots and the carrots were mainly left with just the taste of a slightly too sweet carrot. I don’t think this recipe wouldn’t work with a lot more tweaking but I don’t think it’s quite there yet.
9. Dippy Egg and Soldiers—This recipe (and others like it) is part of the reason I think there should be another section with Lunches/Light Bites because I don’t think this could count as a Spud or a Side. It’s its own dish. However, it ended up not mattering as this was one of the worst recipes we tried (maybe even below the Toad in the Hole). The timings were completely out. The eggs ended up being extremely hard and rubbery, burnt on the shell through to the white and with a slight fishy flavour which didn’t exist when we cooked the same pack of eggs in a pan. The hob, especially with our induction hob which heats up quickly, is quicker than the method in the Air-Fryer anyway and I would personally never choose to cook hard-boiled eggs in the Air-Fryer again. It feels unnecessary and you gain a lesser product at the end. Even if you alter the timings, the only real reason to cook it this way is if you live in a place with no hobs and only an Air-Fryer (and you can buy a cheap plug-in induction hob online—We got ours from Ikea).

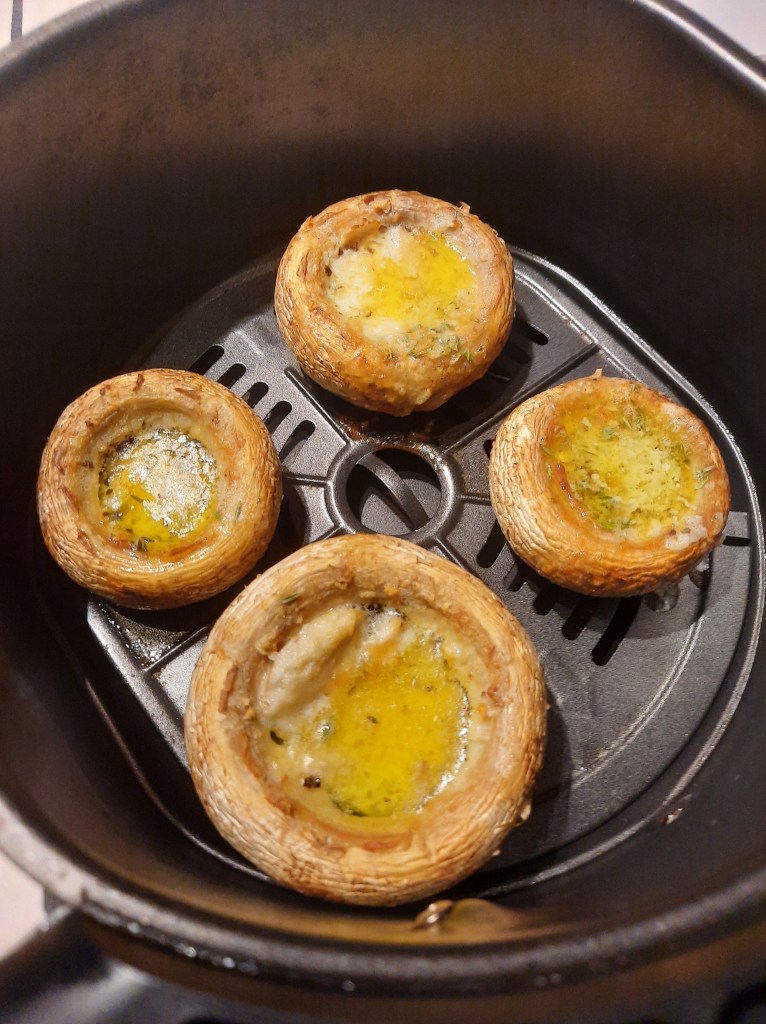
10. Garlic Mushrooms—These were… okay. They were definitely garlicky and just about cooked but they hadn’t gained any of the lovely caramelisation you would get from doing them in an oven/under a grill/in a pan. They needed a sprinkle of salt to lift them and you could only do 2-3 at a time in my Air-Fryer, whereas chopped up with some garlic, cream etc. in a pan you can creature some lovely garlicky mushrooms with amazing flavour that could feed a lot more people. I don’t think this recipe is bad and I’m sure it will have it’s fans (my Dad is one of them) but I would choose the pan or grill over the Air-Fryer going forward.
11. Onion Rings—I make onion rings quite a bit. One of my favourite pieces of kitchen equipment I own, and one I’ve owned for at least a decade at this point, is my deep-fat fryer. Onion rings are one of the simplest, quickest things you can do in a fryer so I quite often do them when I’m using my fryer. I’ve tried onion rings in an Air-Fryer before (see my review of Air-Fryers in the Food Reviews tab above) and found them to be tasty but not really a proper, deep-fried onion ring. Not being one to give up I decided to try Poppy’s recipe to see if she managed to succeed where I failed. The answer was, unfortunately, no. Similarly with the chips and wedges, the onion rings end up really dry and because of the use of flour in the breadcrumb mixture it also turns out very floury (not a nice texture on the tongue). You can only cook 5-6 at a time in a standard sized Air-Fryer (which we have) and they take a considerable amount of time when having to do the amount in the recipe. The boiling of the onions first, whereas it helps aid the inside texture, takes a considerable amount of time when my usual recipe isn’t any better or any worse with raw onion rings (I think the boiling is just a way of making sure you get the same consistency each time without having to depend on the quality/type of onion you use—not necessarily a bad thing if you really struggle). Because of only being able to do a few at a time, and them not retaining heat whilst the others cook, you end up either eating them in small stages whilst you cook or putting them in the oven to stay warm (which defeats the point). If there is an Onion Ring recipe that works in the Air-Fryer, unfortunately, I’m still yet to find it.

12. Samosas—I loved making these. I don’t know why, I just found the whole thing relaxing. The timings to cook them was dead on. The description of how to fold, once you realised what it fully meant, was very helpful and it gets easier the more you do it. The main tweak I would make would be to the filling as, despite being okay in flavour, it did feel like it needed an oomph—more spices, or more distinct flavours like lemon etc. That being said, cold the next day they taste a lot better than they do on the day they’re made (because the flavours have time to intensify). We actually tested them both in the Air-Fryer and the Fryer for a comparison and whilst the Fryer was a lot faster they actually tasted nicer and less oily in the Air-Fryer version. I would definitely make this recipe again, perhaps with a few tweaks to the filling though I may also try them in the oven as in the quantity the recipe makes I was waiting a long time before they were all finished (and some of them I did in the fryer). (I should probably also add that these are definitely not samosas like you would buy. They’re not made with samosa pastry but with filo pastry so they taste a bit like a hybrid between Spanakopita—texture—and Samosa—flavour).
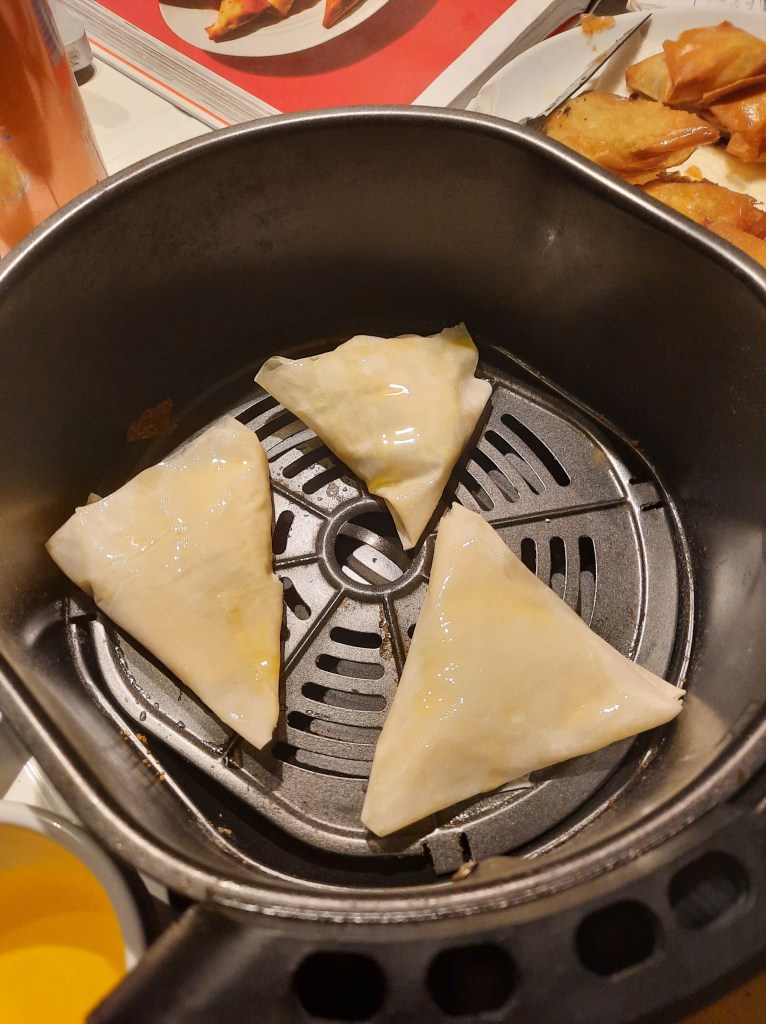
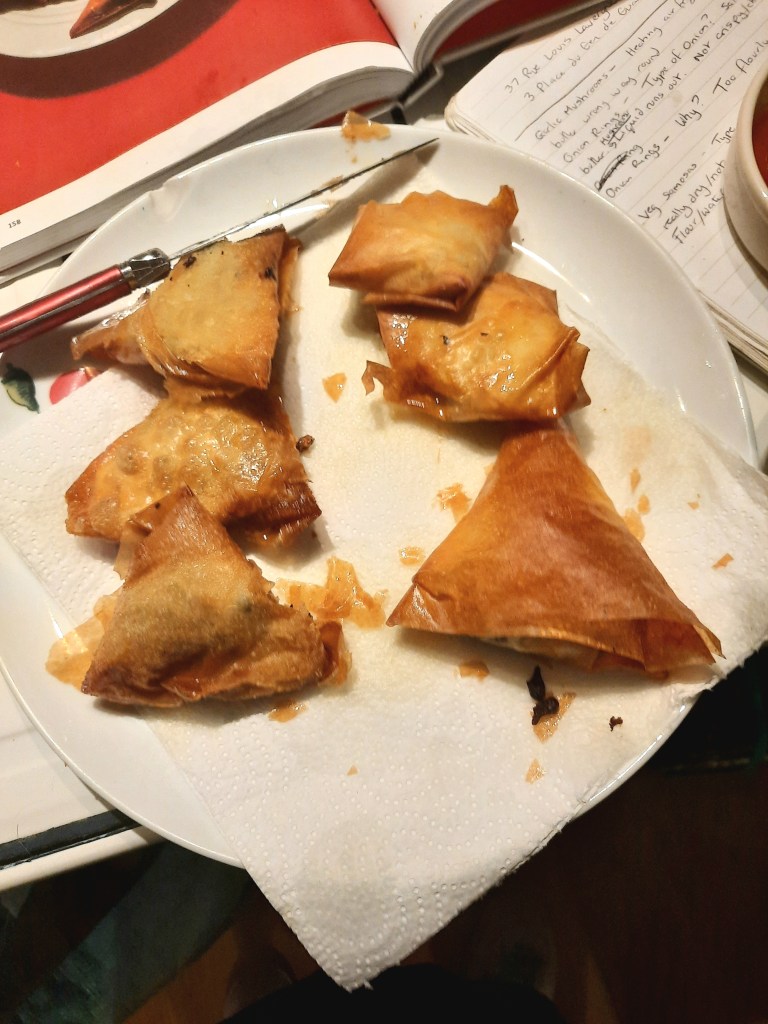
The Air-Fryer Samosas (Right) were a lot less greasy and saturated than the fried version. Air-Fryer wins this round.
13. Blinis—Do you remember when I mentioned earlier that I was worried the paper on the Smoked Haddock would fly into the Air-Fryer fan? Well, that’s exactly what happened here. The blinis were in the basket on a circle of baking paper cut to the size of the basket. They were in almost-perfect little discs and then they were pushed in and the Air-Fryer turned on. Less than a minute later all I could smell was burning. Knowing what had happened in the past with baking paper and the Air-Fryer, I turned it off and pulled it out to find the Paper burnt all over the top and the blini mixture in a semi-solid pool at the bottom. The blini mixture just isn’t heavy enough, unlike the fish, to hold the baking paper down. The actual blini mixture itself was fine when cooked in a pan with a little bit of oil but I wouldn’t even attempt to put it in the Air-Fryer again following this recipe. The suggestion however of topping the blinis with beetroot hummus, pickled beetroot (both homemade with my own recipes) and smoked mackerel was a tasty little treat and perfect for canapes. I couldn’t eat too many of them though and probably wouldn’t have them for lunch.


14. Mozzarella Dippers—We tested this recipe in the oven and the Air-Fryer as we very quickly realised that with the quantity you could fit in the Air-Fryer it was going to take forever before they were all done. Despite being able to cook more at a time in the oven they actually tasted crispier, and oozed out less in the Air-Fryer. Whereas the oven ones were okay a lot of the cheese ran out of the breadcrumb mixture whilst the Air-Fryer ones stayed in a stick form and only pulled apart when you broke into them. The timings in the Air-Fryer were exactly right and the actual breadcrumb mix/flavours were incredibly tasty. We also tested whether the first ones would still be hot by the time the next 3 were done and the answer was very firmly no. You would have to either eat them in stages as you made them or buy a bigger Air-Fryer with a greater capacity. These I would definitely make again.
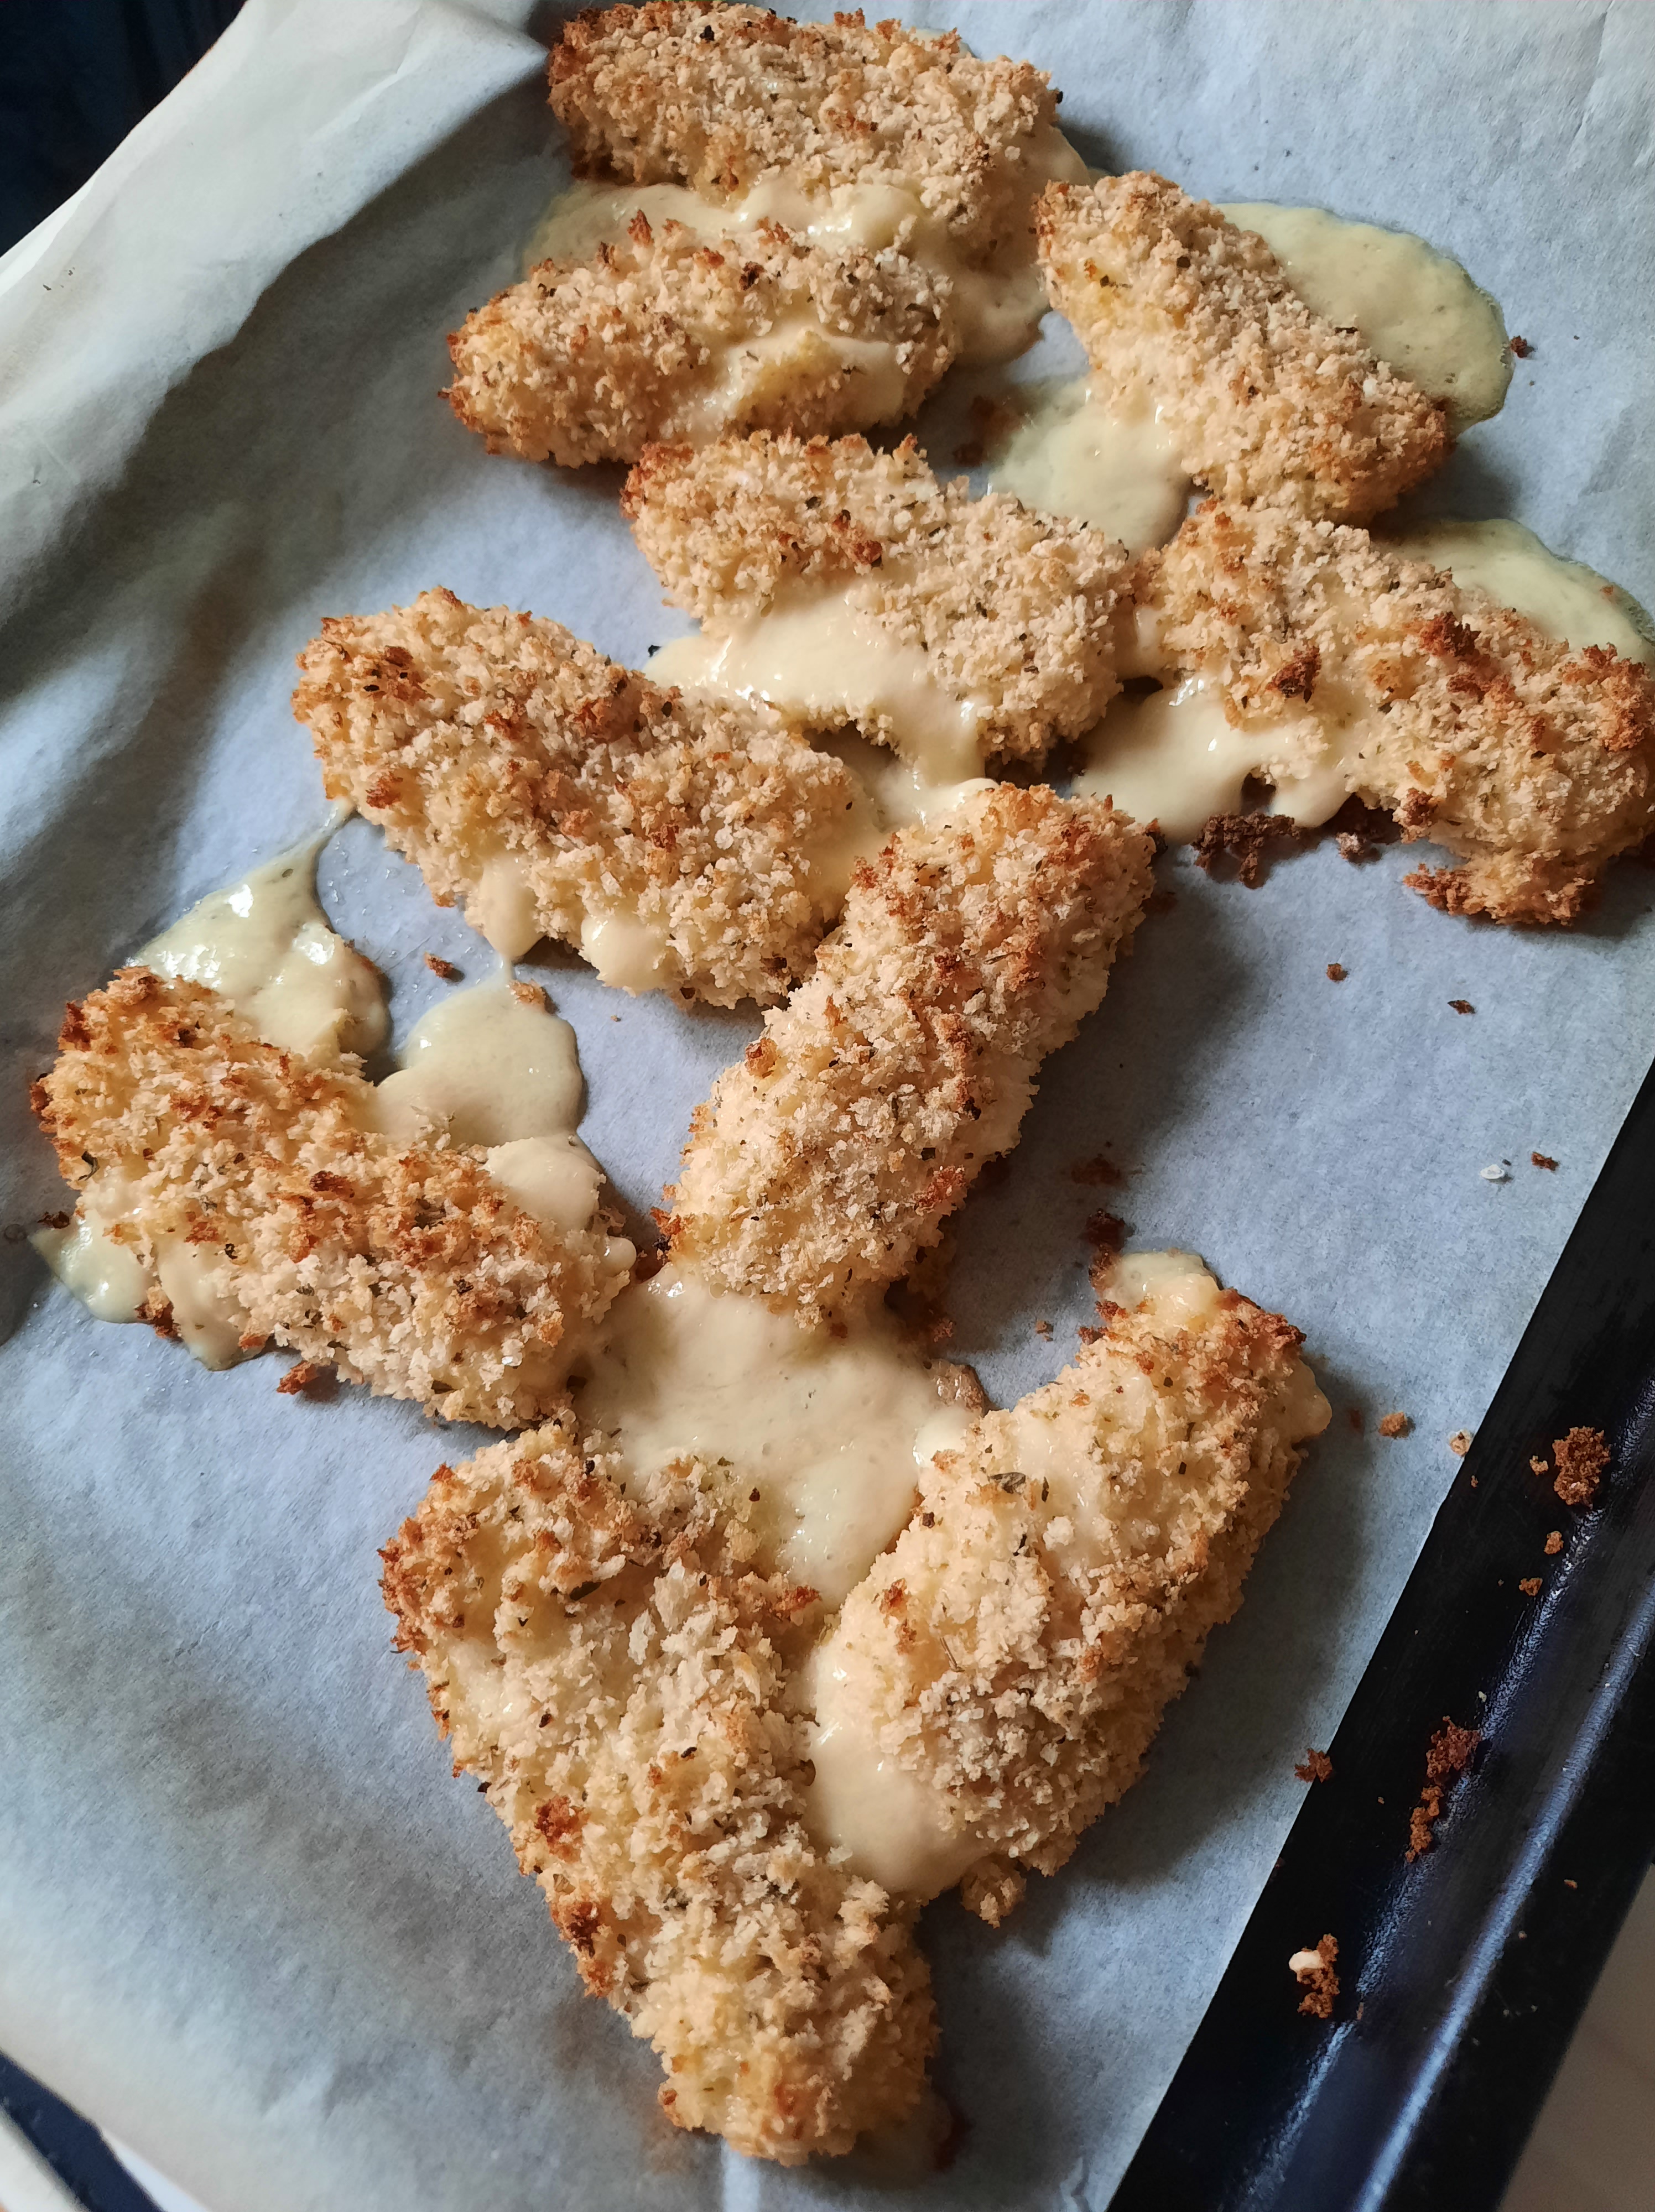

Oven Mozzarella Sticks on the Left, The Superior Air-Fryer versions on the Right.
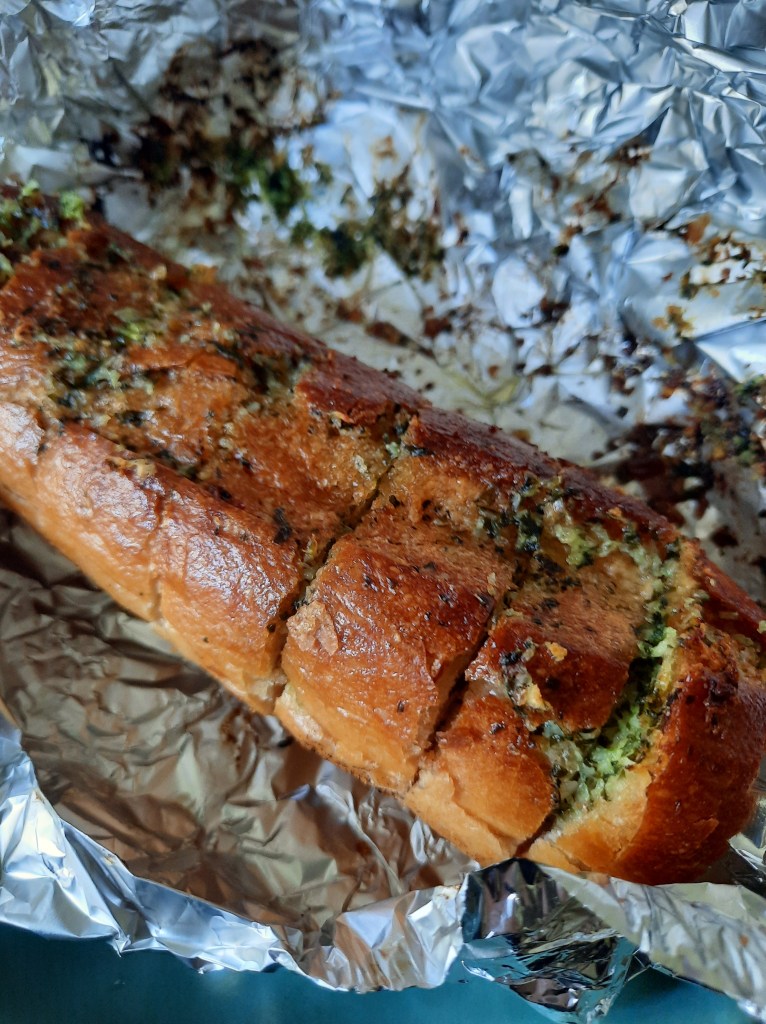
15. Garlic Bread—Is it a side or is it a meal? This is one of those things I think you could count as both and I’ve definitely eaten it as both (in fact I even had this recipe again today as a light lunch). The flavoured butter was tasty, the recipe was precise and it’s easy to do. I would say I would definitely do this again but I already have, many times. The Air-Fryer cooks Garlic Bread perfectly and in a reasonably quick amount of time. As a bit of advice if you do make this recipe, any spare butter you have make into a sausage shape, wrap it in cling-film and freeze it. Next time you want garlic bread you can use a hot knife to cut circles and it’s even easier to slide it into your sliced bread. You can also try different versions of the butter if you fancy it (I made a toasted fennel seed and garlic version which was also lovely).
SWEET TREATS
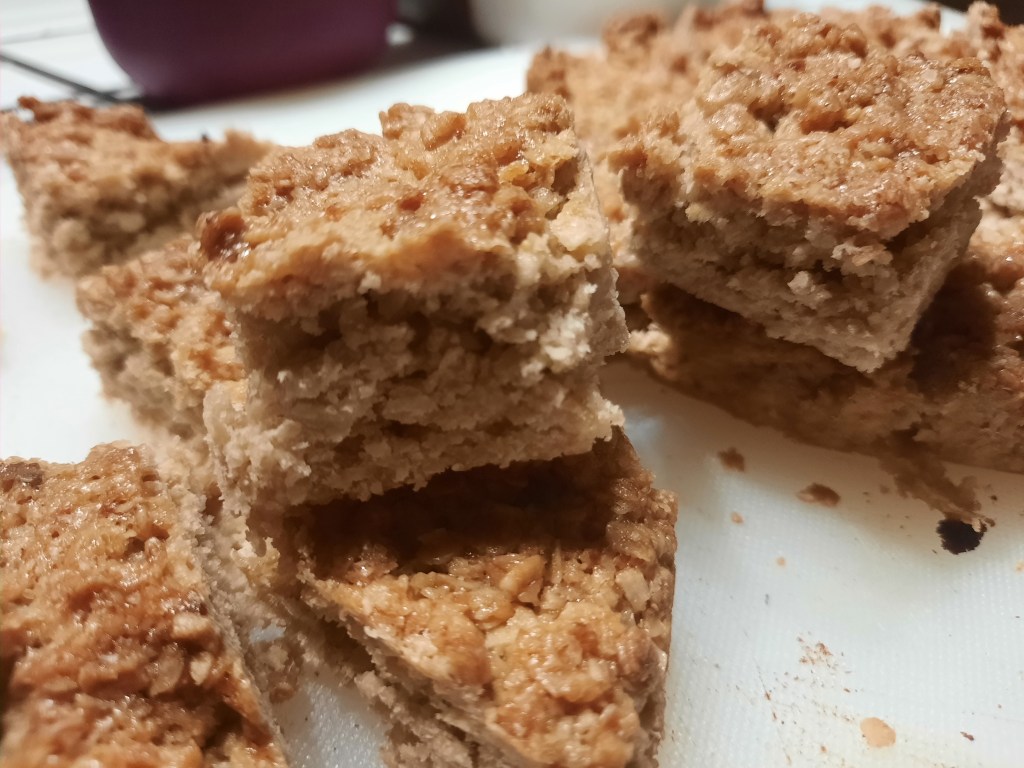
- Flapjacks—To start with I should say, yes, this recipe does work. However if you, like me, only have a small Air-Fryer I’d advise not to follow Poppy’s advice and put it all in one tin and cook for longer. I split my mixture into two tins and cooked them one after the other. Even at this thickness they were a bit doughy so I certainly wouldn’t want them to be any thicker. Unlike the onion rings etc. above you don’t have to eat these hot and you’re only cooking two so it’s not too hard to wait for them both to be done. The flapjack recipe itself was… okay. It was slightly too sweet and needed a touch of salt to balance out the flavours (I would add salted butter personally, instead of unsalted but that’s only because I know and trust the salted butter I buy). It was also a lot more cake-y in texture and would have benefited from some crispier bits. However I am aware that if you have a big sweet tooth this may be the perfect, simple recipe for you and would be cheaper than buying the substandard coffee-shop-chain or supermarket versions (unless you have great ones at your supermarket/coffee shops etc. then it would just be cheaper with a greater quantity).
2. Slutty Brownies—I think I’ve already mentioned this but I wish this recipe had come after the Cookie and Brownie recipes as it essentially mixes both those recipes together. However, me and my OCD will forgive her as these actually taste pretty nice. The brownie part is deep, rich and chocolatey. The Oreo in the middle creates an extra crispness that I thought would come from the cookie but the cookie is more like a lightly vanilla-flavoured cake. In fact that’s the only fault we could find—we wished the cookie base was crispier (as it was when the spare mix was baked separately) and tasted less like another cake. The flavour of these Brownies improved the day after making them, and the day after that, and the day after that (they were stored in a sealed cake tin). The recipe and the timings all worked. After making two tins worth in our little Air-Fryer I had spare cookie and brownie mixture left for some extra little cupcake size brownies and cookies. Would I make this recipe often? Probably not because it’s extremely rich but as a treat every now and again it’s definitely a lovely recipe.


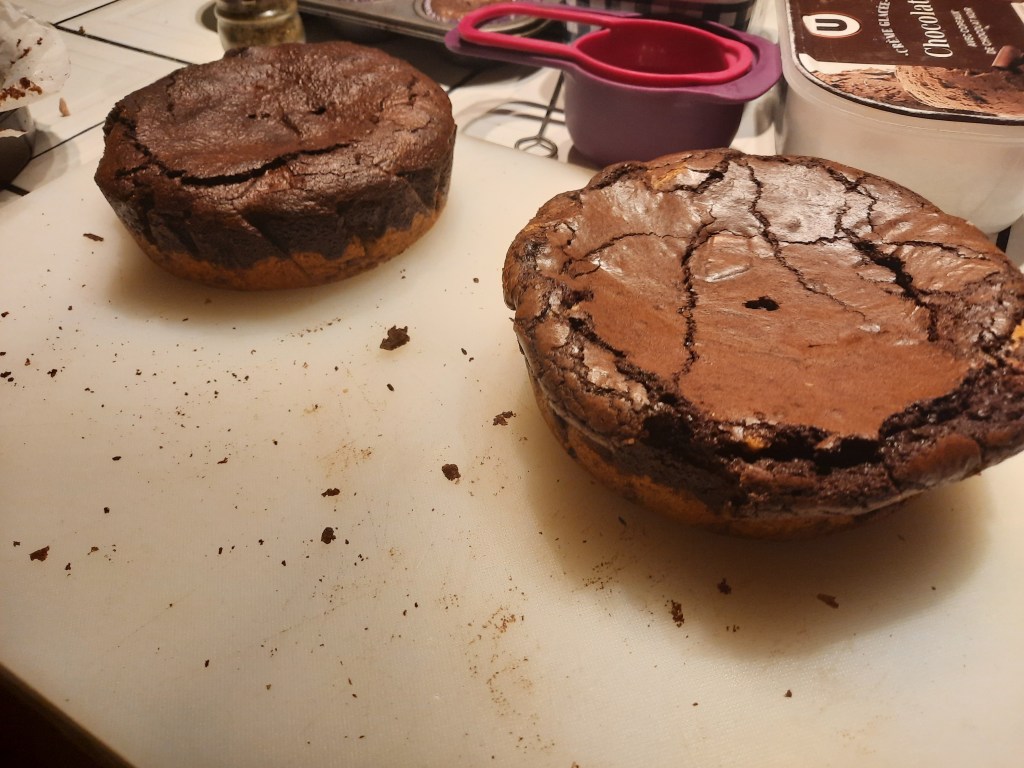
There wasn’t much difference between the Air-Fryer version (Left) and the Oven Version (Right) in taste, though you can obviously tell there was a greater rise and spread on the brownie in the oven (and a lot more crispy bits because of it).
3. French Toast Bites—Emphasis on the toast as that’s exactly what they tasted like—dry, extremely salty toast. That is, that’s exactly what it tasted like from the Air-Fryer. In the Air-Fryer they came out dry, almost like a cross between a crouton and a crispy square of toast and unfortunately lost any flavour that had soaked into them. However, when we cooked them in a pan, like you would regular French Toast, they were relatively tasty with a crispy outside and fluffy, sweet centre. I wouldn’t make this recipe in the Air-Fryer again but I would make it and use a pan instead.

4. Banana Fritters—If you could sum up a piece of food with ‘yeah, it’s okay’ it would be this one… and I mean a British ‘okay’ which means in translation ‘nothing special but they’ll do’. The timings and recipe were fine and easy to follow. The fritters turned out slightly doughy but okay. I wouldn’t run to doing these again but I wouldn’t turn my nose up at them if they were offered.


Overall I do like this book, despite what it might seem from my run-down above. I would even buy this book for a present alongside an Air-Fryer or for someone with an Air-Fryer (an added bonus if they knew/were fans of Poppy) but I would give it to them with the advice that not everything might work and it may depend on their Air-Fryer as to whether they would want to make it. Some of the recipes are good recipes but are better cooked in another piece of equipment. Others are replacing a hob which, for me at least, is pointless as it’s cheaper to buy a plug-in hob than an Air-Fryer and can (at least for some things) create a superior product. And there’s some moments of sheer brilliance like the Pork Belly, Slutty Brownies, Samosas etc. that, for me, are worth the cost of the book alone. I also appreciate the fact that it starts you off with a basic recipe and gives you, often multiple ways to build on that recipe.
Is it a perfect book? No, but you can clearly see the hard-work that went into it—and one of the unfortunate things about all the different brands of Air-Fryers available is things might not work the same across all of them (similar to ovens). You can test it in a few Air-Fryers (as Poppy purportedly did) but that doesn’t cover the sheer quantity of ones available. I don’t regret buying this book and I will definitely be using it as a reference guide to my Air-Fryer cooking in the future.
What about you? Have you bought this book for anyone you love for Christmas (even if the person you love is yourself, you can say it)? Or have you tried the book already? What’s been your favourite recipe? I want to give a big thank you to Poppy and all of the people that helped her make this. The amount of work you all put into it, and the amount of work Poppy does in general running to-and-fro everywhere, is amazing. Keep up the good work and I can’t wait to see what you do next.
Kind Regards,
The Literary Onion
P.S. It’s that fun but also stressful time of year again. I wanted to take the time to thank you all for reading this blog for the past year. I’ve been working hard at trying to post more frequently whilst trying to keep to the same quality I’d want it to be. A post like this one, testing a recipe book, takes a substantial amount of time to finish as I always want to make sure that I’ve tested a good amount of it before making a judgement. I figure that if they’ve put all this work into making a full cookbook then I can’t judge it based on one or two things. That wouldn’t be fair to the writer and it wouldn’t be fair to all of you reading. After Christmas the final Act of Play On will be coming on once a week and then after that we’ll be returning to an old short story/poem series ‘The Street Crawlers’. If you want to read any of the previous stories, or catch up with Play On, you can find them in my ‘Original Stories’ section under ‘Writing’. Thank you for reading and whatever you’re celebrating soon (even if you’re just celebrating still being here and keeping going) I hope you have a great time. See you in the New Year.
